 Voxel3D
VOXEL3D / 3D tools
Text to STL
Turn a line of text into a raised 3D mesh and download a binary STL.
No sign-in neededCheck units, orientation, thin features and supports in your slicer before printing.
Text to STL for nameplates, labels and lettering
Text to STL generation turns supported characters into actual extruded geometry. It is useful for a short desk label, a nameplate experiment, lettering for a display, or a part that will later be combined with another model. Type one line, set the letter size and depth, and generate a binary STL. The included font supports Latin letters, digits and common punctuation. Unsupported characters are rejected rather than silently replaced with another letter or a missing-glyph rectangle.
This tool creates the letters themselves. It does not add a rectangular sign, a keyring hole, mounting screws or a backing plate. A space remains a gap and separate letters remain separate solids. For a keychain or door sign, use a mesh or CAD editor to create an appropriate support shape, join the lettering as needed and check the final geometry. Do not mistake a download containing several disconnected letters for a finished one-piece accessory ready for everyday loads.
How the text to STL size and depth controls work
Letter height sets the typeface size used to construct the outlines. It is not a guarantee that every string has exactly that measured bounding height. Uppercase letters, lowercase letters and descending characters have different extents. The reported dimensions after generation are more useful than assuming that a selected size is the final outside dimension. To fit a label recess, compare the complete string width and height with the available space, then resize and regenerate deliberately.
Depth is the extrusion along the Z direction. A depth of 3 mm makes a thicker standing letter than a depth of 1 mm, but does not widen its narrowest strokes in the XY plane. Increasing depth alone therefore cannot rescue an outline that is too thin for the chosen print process. The software allows positive letter sizes up to 200 mm and depths up to 100 mm; those are interface limits, not recommended settings for every printer or design.
Text STL stroke width and a 0.4 mm nozzle
For FDM printing, a useful starting check is the narrowest stroke in the actual generated outline. Prusa documents an example 0.4 mm nozzle profile with an approximately 0.45 mm extrusion width. One perimeter in that example is about 0.45 mm and two are about 0.9 mm. These are profile-dependent reference values, not a universal promise that every 0.45 mm feature will print cleanly. Inspect the line widths selected by your own slicer and printer profile.
A thin stroke can disappear in slicing even when the shaded mesh still shows it. Increase the letter size, select a more robust outline in an editor, or use a printing setup capable of resolving the feature. Check small counters inside letters such as A, B, e and R as well as the outer strokes: closing a counter can make a label unreadable. The included sans-serif font avoids some fragile decorative details, but the typeface choice alone does not establish a minimum printable size.
Raised text height, flat printing and a backing plate
For a design experiment, consider relief depth in relation to layer height. At a nominal 0.2 mm layer height, a 0.8 mm raised feature corresponds to four layers of height, while 1.2 mm corresponds to six. Those arithmetic examples help you reason about the intended relief; they are not a tested print profile for this tool. First-layer behavior, nozzle width, material and slicer choices still affect the result. Start with a small sample of the most difficult characters before committing to a full sign.
Printing the flat backs of letters against the build plate often gives a straightforward orientation to inspect. A backing plate can make separate letters easier to handle, but adding one is a separate modeling step. Overlapping the letters and plate visually is not sufficient evidence that the final object is a clean solid. Use an appropriate union or preparation workflow, examine the sliced layers through the join, and consider how the finished nameplate will be mounted or attached.
Three text STL projects with different constraints
A desk nameplate needs legible text and stable support. Before generating a long name, measure the available width and test a short string at the intended scale. Remember that this tool does not generate a stand. If the lettering will sit on a base, inspect the contact and consider whether a separate mounting part or a joined model is more practical. A render of upright letters is not evidence that those letters balance without support.
A keychain label needs more than attractive lettering. The connecting material around the hole and the narrowest part joining the letters can carry repeated loads, so do not simply reduce a large sign until it looks small enough. A door number has a different problem: viewing distance and attachment may matter more than tiny decorative detail. For both projects, design the plate or attachment in an editor, then verify the combined mesh and supports in the slicer. We have not physically printed these project examples; they describe preparation decisions to make before a test.
Verify the generated text STL before a full print
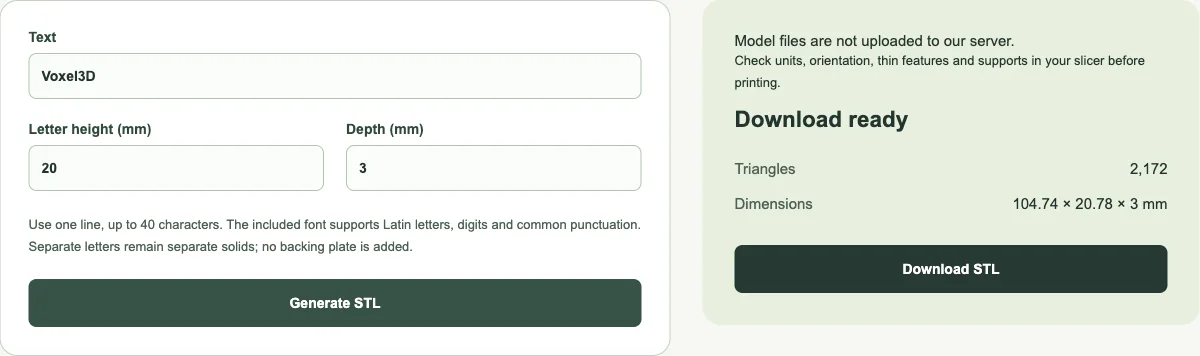
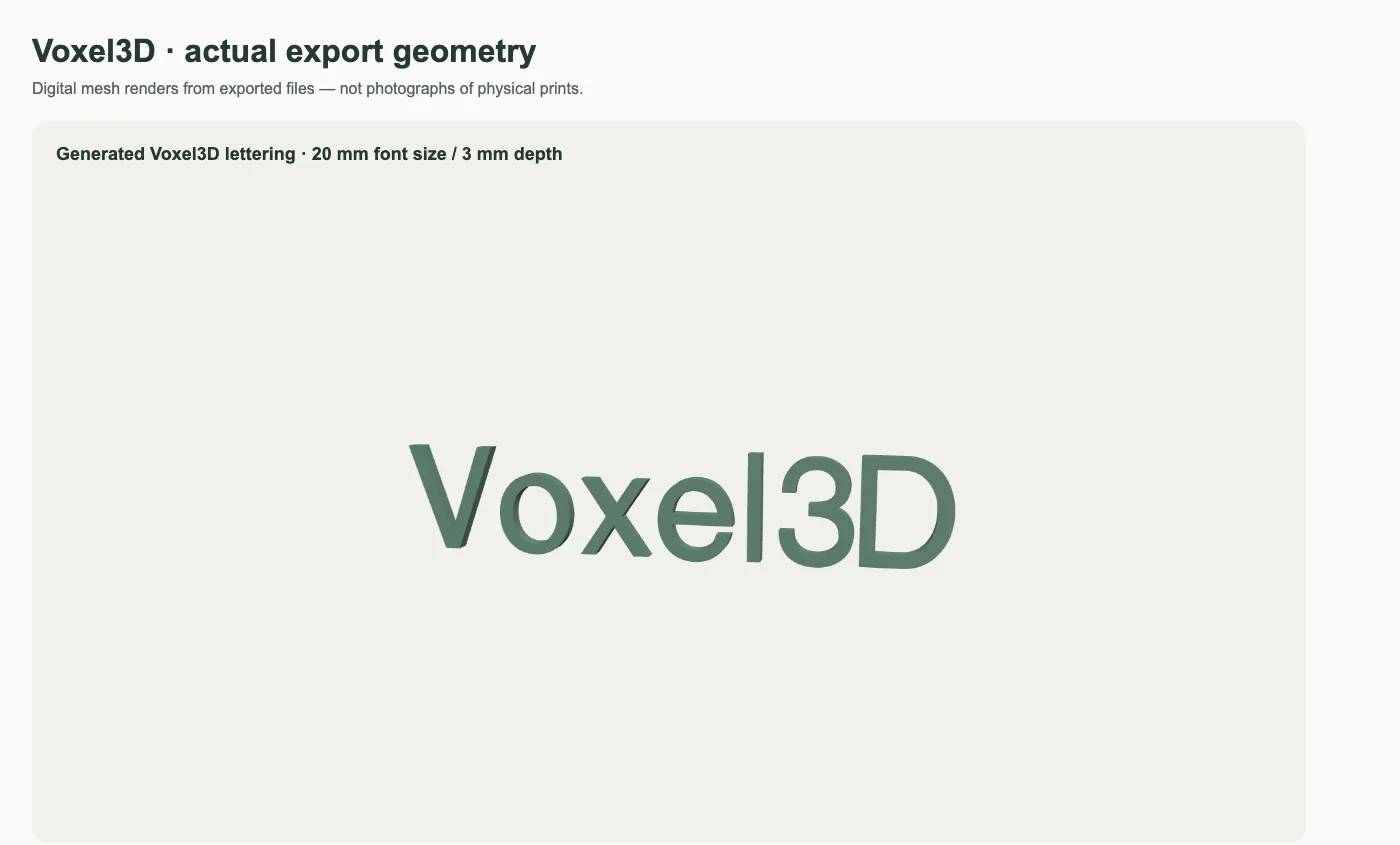
The default Voxel3D string at the example 20 mm type size and 3 mm depth generated 2,172 triangles in our browser test. Its reported bounding dimensions were approximately 104.74 × 20.78 × 3 mm. Those are measurements of the exported mesh, not a ruler measurement of a physical print. They demonstrate why actual string width and measured height should be checked after generation instead of inferred from the size field alone.
Open the download in a slicer and check that every intended letter is present, the counters remain open and the scale is correct. Review the first layer for adhesion and the later layers for missing strokes or unexpectedly isolated islands. If you change the string or size, save the new output under a distinct filename so you do not print an older test by mistake. This is a local text-mesh generator, not a slicer, font library, CAD solid validator or guarantee of mechanical strength.
References
Text to STL · Frequently asked questions
Can I use text to STL without an account?
Yes. This tool runs without sign-in, credit purchases or model-generation requests.
Does text to STL make a print-ready nameplate?
No. The output contains separate letter meshes without a backing plate. Check dimensions, strokes and supports in a slicer, and design any plate or attachment separately.